Blog
How to Clean Kitchen Sink Drain Pipe?

Related Posts
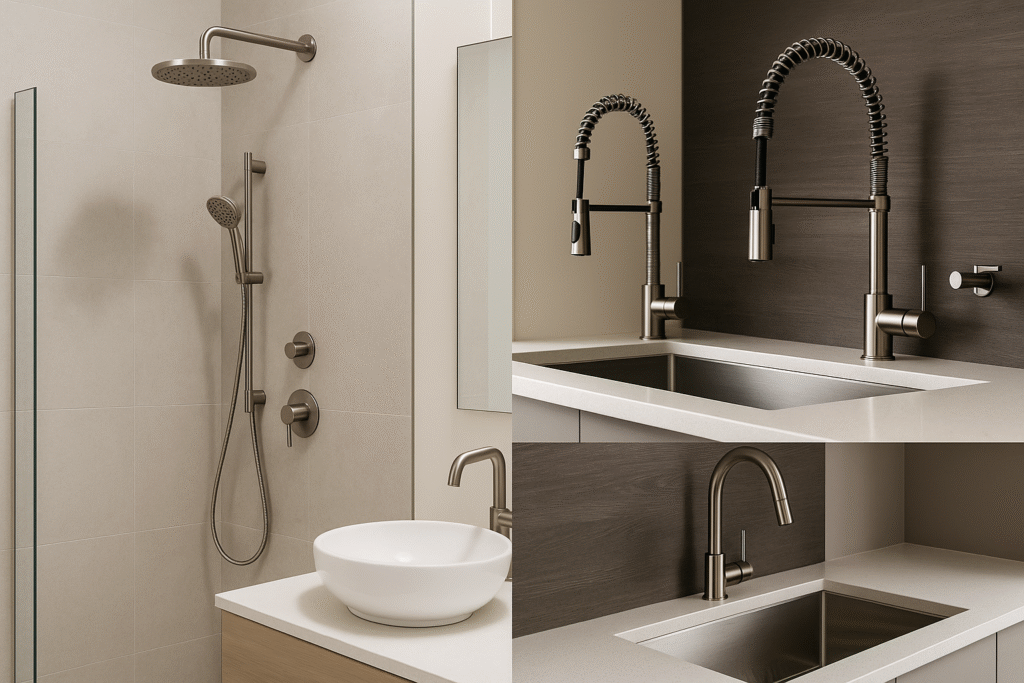
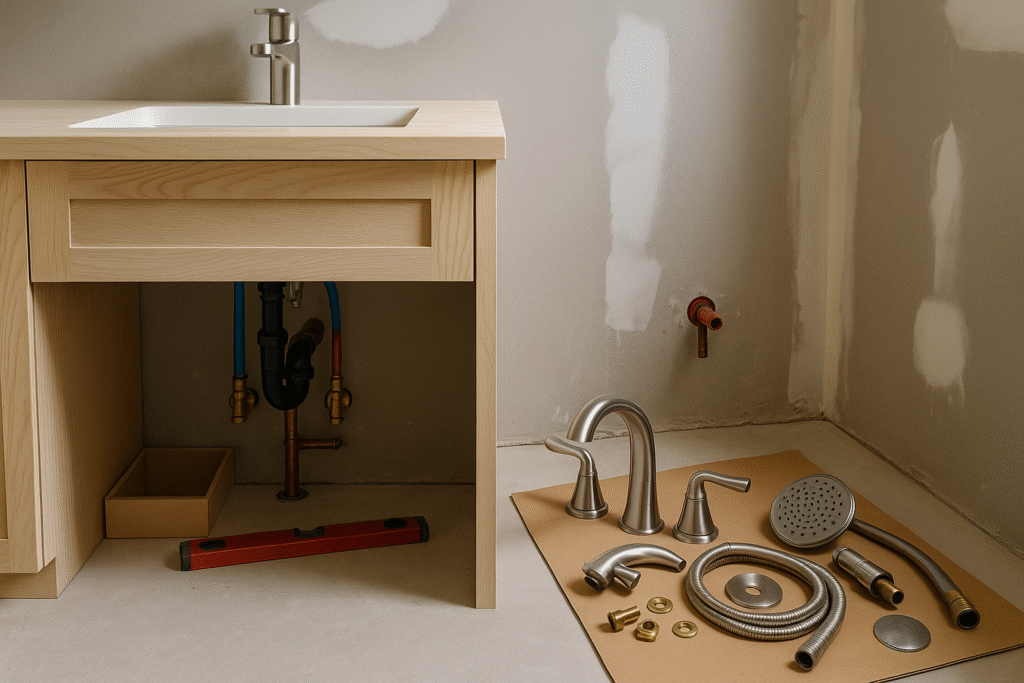
The Ultimate Guide to Buying Quality Plumbing Fixtures in Canada
Choosing the right plumbing fixtures can make or break the functionality and aesthetics of your home. From sleek bathroom faucets to du...
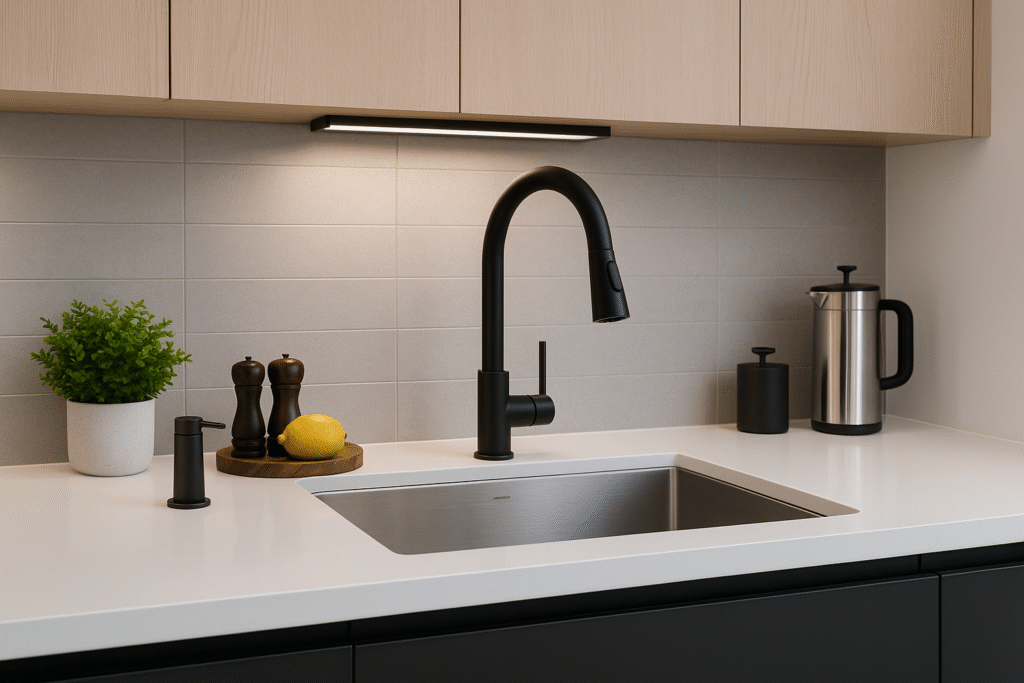
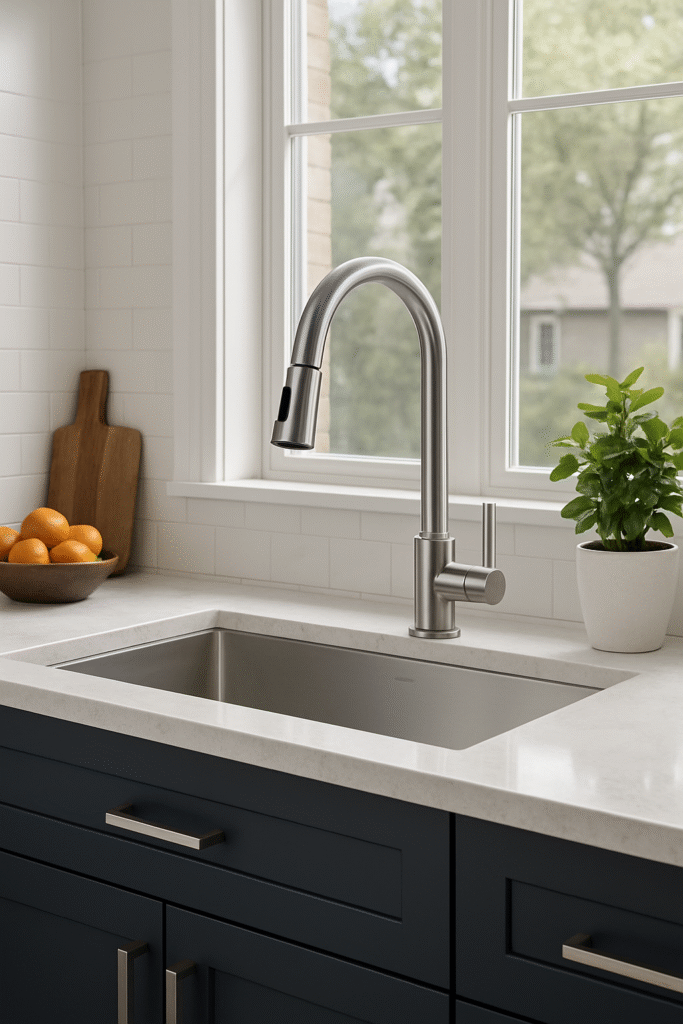
Modern Kitchen Design Ideas: Faucets, Sinks & Smart Accessories
The kitchen is more than just a place to cook—it’s the heart of the home. In today’s design trends, functionality meets aesthetics thro...
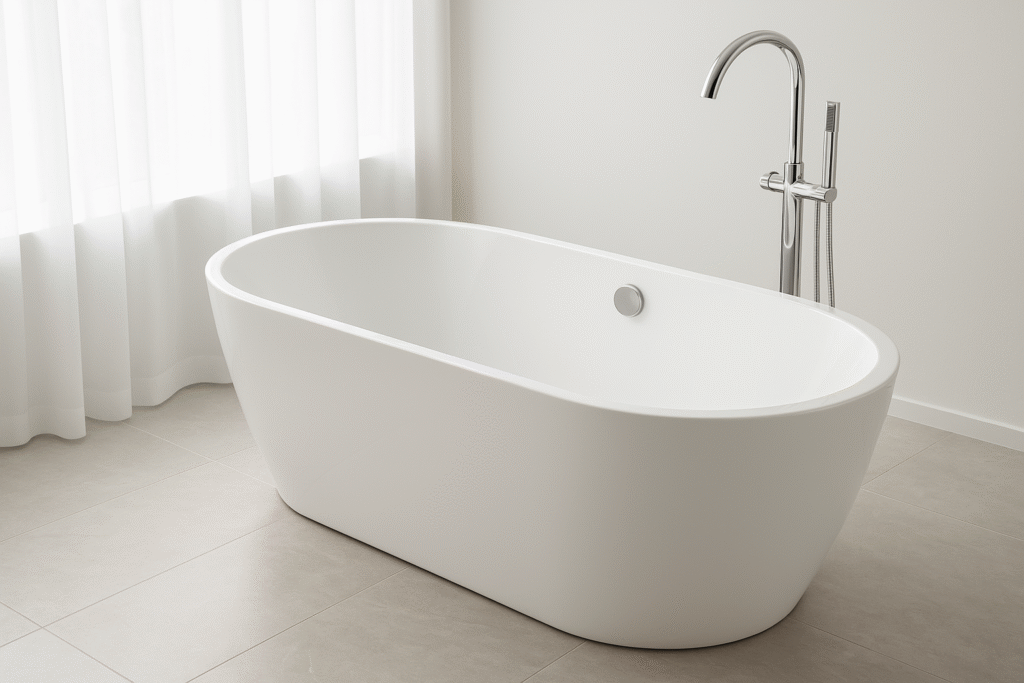
How to Choose the Perfect Bathtub for Your Home: Size, Style & Comfort Guide?
Choosing the perfect bathtub goes far beyond picking a design you like. It’s about finding a tub that fits your space, suits your lifes...
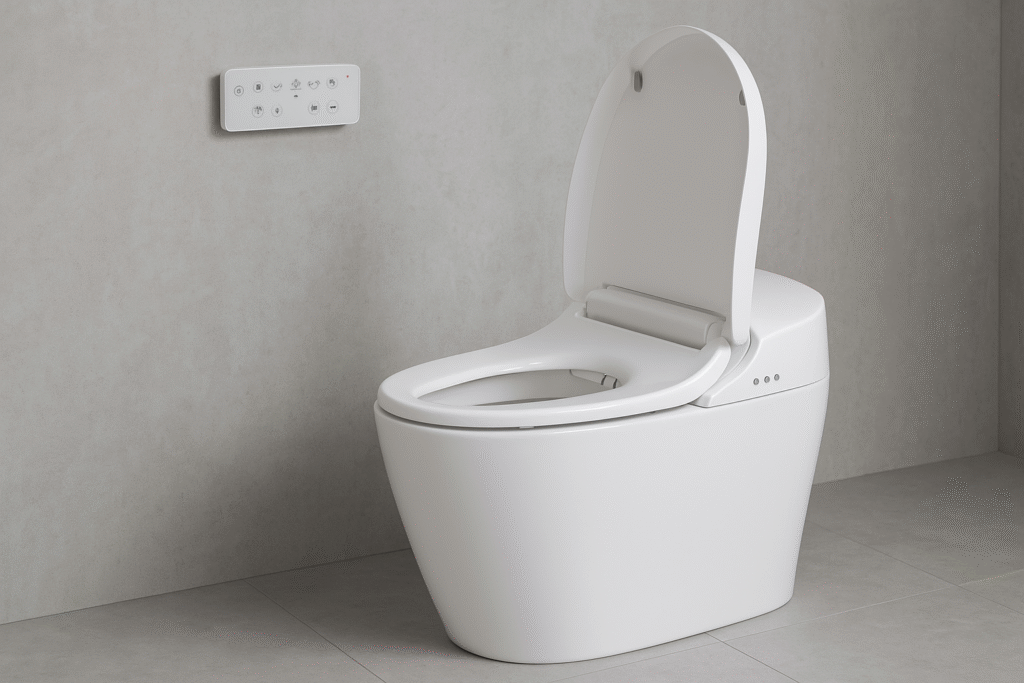
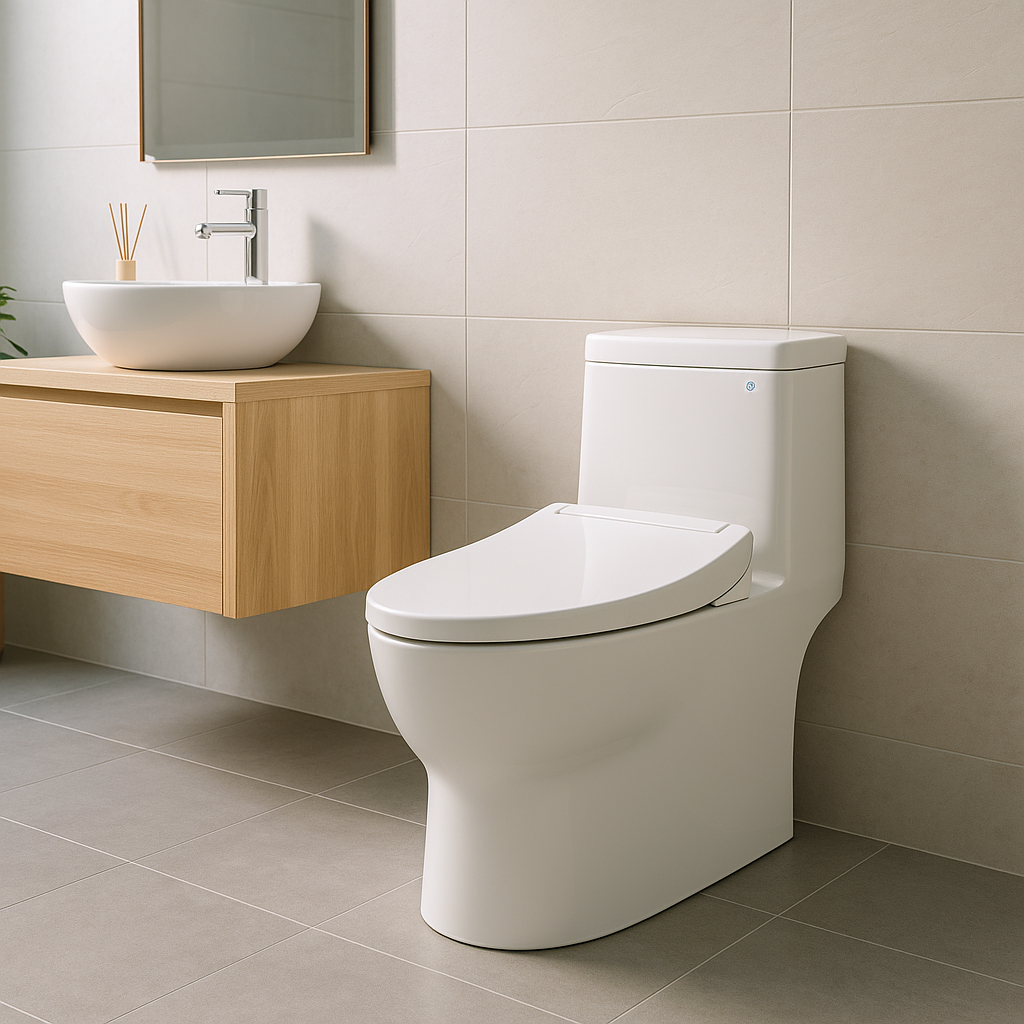
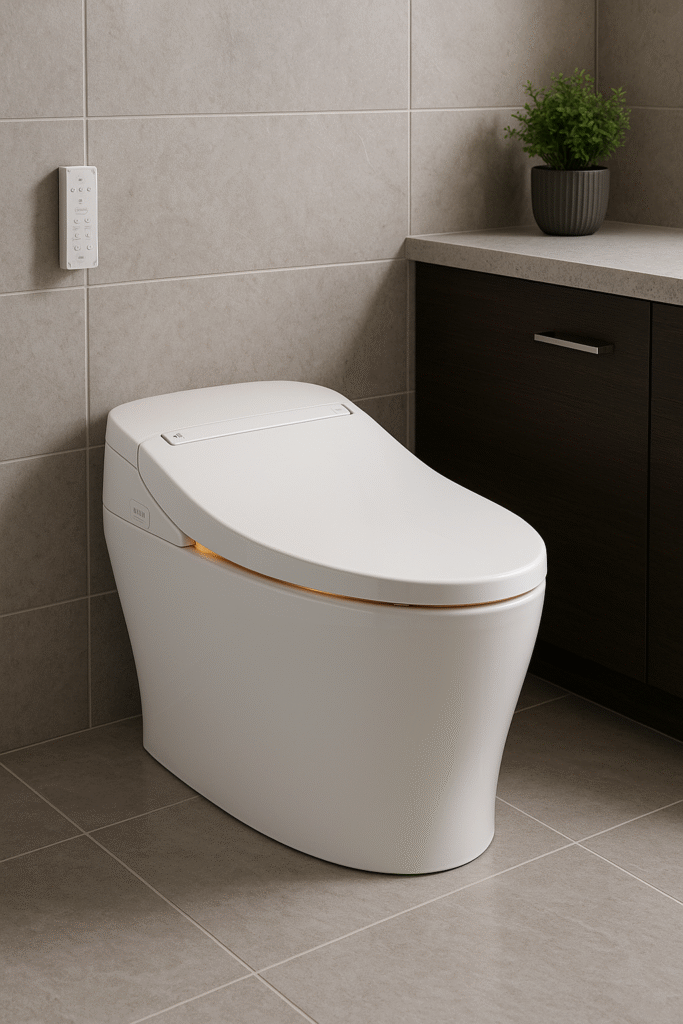
How Smart Toilets Are Changing the Way We Experience Comfort and Hygiene?
The modern bathroom has evolved beyond a purely functional space—it has become a place of comfort, wellness, and technology. Among the ...
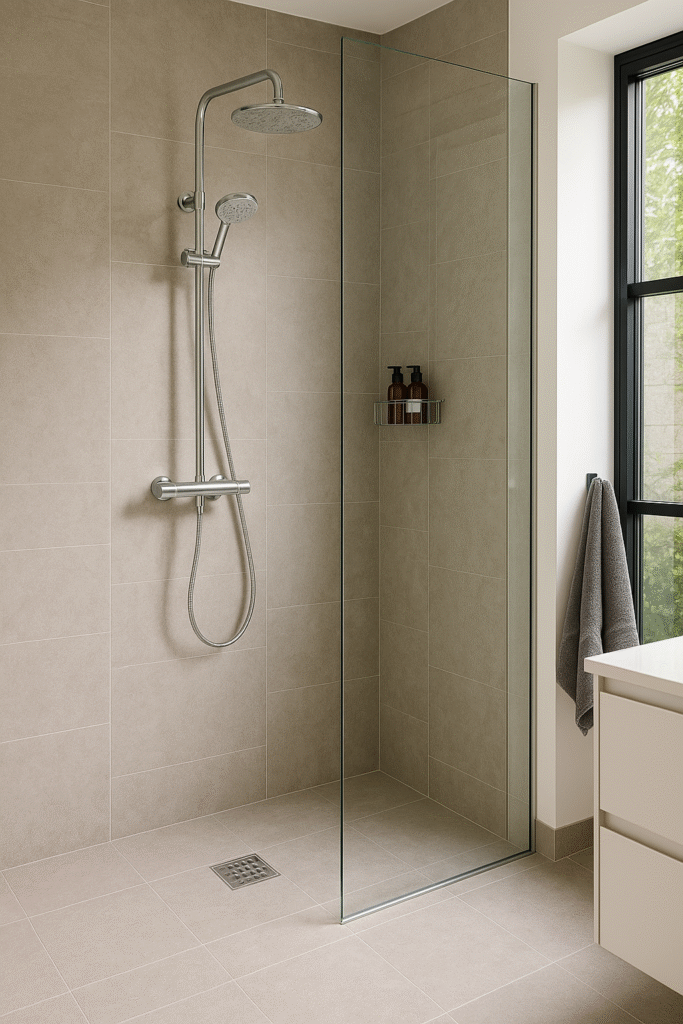
Complete Guide to Choosing the Right Shower System in Canada
Few fixtures in your home have as much impact on daily life as your shower. It’s where you start your mornings, unwind after a long day...
The Most Common Plumbing Fixture Mistakes in Home Renovations
Home renovations are exciting, especially in places like Toronto, Quebec, and Vancouver, where homeowners are modernizing bathrooms and...
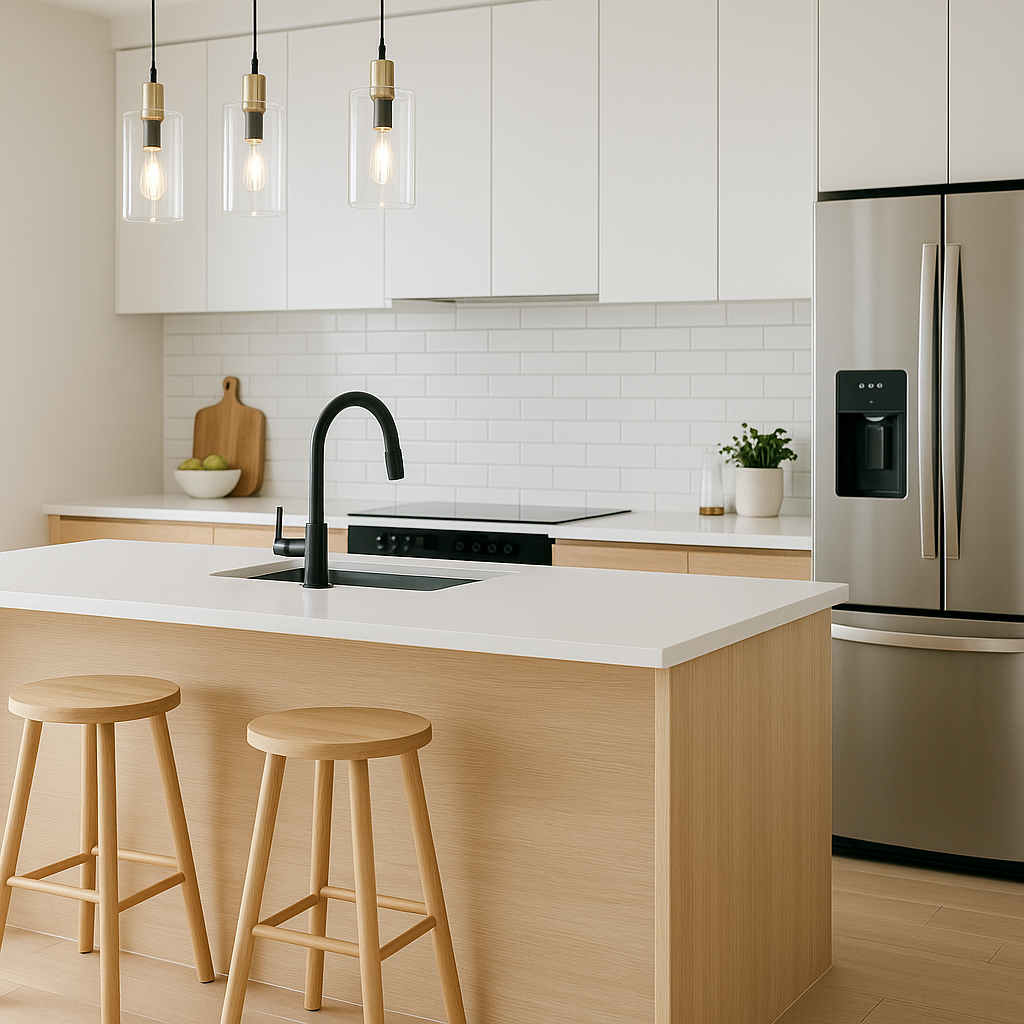
How to Design a Modern Kitchen with Smart Fixtures?
The kitchen has always been considered the heart of the home, but in today’s world, it’s also becoming a hub of innovation. Canadian ho...
Do Smart Toilets Really Save Water? Canadian Homeowners’ Guide
For decades, toilets have been one of the most water-hungry fixtures in Canadian homes. Traditional toilets used up to 13 litres of wat...
Transform Your Bathroom with Smart Toilets and Advanced Faucets
The bathroom is more than just a place for daily routines – it's an opportunity to create a space that enhances comfort, convenience, a...
Smart Toilets: The Future of Bathroom Comfort in Homes
The future of home comfort is here, and it’s taking the bathroom experience to a whole new level. Smart toilets have rapidly gained pop...
Upgrade Your Kitchen: Top Kitchen Sinks and Faucets for Modern Homes
Upgrading your kitchen is one of the most rewarding ways to transform your home, especially in a dynamic city like Aurora. While kitche...

Essential Bathroom Faucets: How to Choose the Perfect Fit for Your Home?
When it comes to designing a bathroom, the faucet is often the unsung hero that pulls everything together. While bathroom sinks and bat...